

Adding Events to the Scheduler- For Company Administrators
Company Administrators can add events into the Scheduler two different ways:
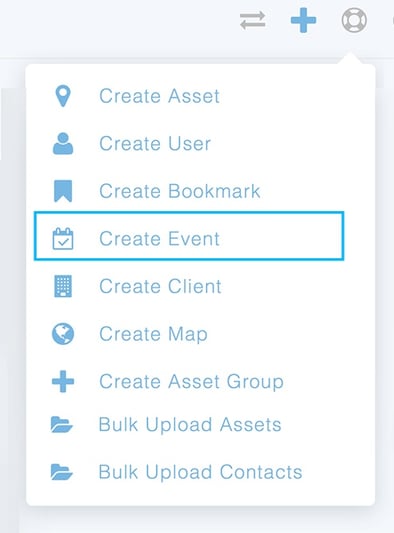
After logging into WeatherOps Commander, select the “+” button in the upper right-hand corner of the screen, and click on Create Event.
On the Create Event page, the default will be set to create an event from scratch. Information on how to utilize the event template is below.
To start, enter all event information, including:
***It’s important to make sure you set Primary and Secondary contacts if MetWatch Services is part of your product package. Assigned points of contact allow our forecast team to know who to call during scheduled MetWatch events in case of inclement weather.
Next, choose which products to enable. All products available for activation are listed on the page. Customize products as you see fit for your event. Select one product or all using the switch button next to the product name. Active products will turn green to indicate they are now “on.” At a minimum, it is recommended that the Display Map, Asset Based Alerts, Daily Planner and Weather Check be enabled.
Scroll to the top of the page and assign contacts to products. Search for a contact by typing in their name in the search bar or scrolling down the contact list. Click the switch next to the contact to assign products to a selected group. Assigned contacts will turn green.
**Turn this event into a template by toggling the switch button to “on.” Once the event is added, templates can be used for an expedited addition of events into the Event Scheduler.
When all information is complete, tap on the “Create Event” button at the bottom of the page.
You will be redirected to the Event Management page for this specific event and can edit information, products and distribution lists.
Templates allow for product activation and settings to be stored for quick duplication across multiple events.
Select the “+” button in the upper right hand corner of the screen, and click on “Create Event" as shown above.
Toggle the button from scratch to Template.
Enter in the event information such as
Choose a saved template to load saved product settings to your upcoming event.
Assign company contacts to products. Quickly search for a contact by typing in their name in the search bar or scroll down the contact list. Click the switch next to the contact to assign products to a selected group of contacts. Assigned contacts will turn green to indicate they are now “on.”
When finished, click on the “Create Event” to add the event to the Scheduler. You will be redirected to the Event Management page for the specific event and can edit information, products and distribution lists.